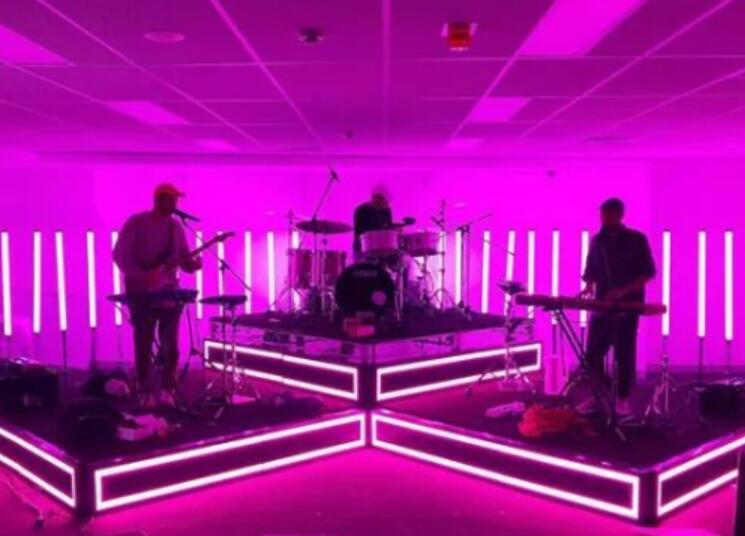
Controlling individually addressable LED tubes, particularly those that use a DMX control system, involves several steps. Here's a detailed guide on how to set up and manage these lights:

Requirements
-
DMX Controller: A device or software that sends DMX signals to control the lights.
-
DMX Cables: Standard cables used to connect the controller to the LED tubes.
-
Power Supply: Adequate power sources for the LED tubes.
-
LED Tubes: The 1m 360 Degree Rotation DMX Control System 3D LED Pixel Tubes.
Step-by-Step Guide
1. Setting Up the Hardware
-
Mount the LED Tubes:
-
Secure the LED tubes in the desired locations using appropriate mounting brackets or fixtures.
-
Connect the DMX Controller:
-
Use DMX cables to connect the DMX controller to the first LED tube in the chain.
-
Connect subsequent tubes in a daisy-chain configuration using additional DMX cables.
-
Power the LED Tubes:
-
Ensure each LED tube is connected to a suitable power supply. Check the manufacturer's specifications for voltage and current requirements.
2. Configuring DMX Addresses
Each LED tube or segment within the tube needs a unique DMX address so the controller can send signals to specific sections. Here’s how to set them up:
-
Assign DMX Addresses:
-
Consult the manual of the LED tubes to understand how to set DMX addresses. This is typically done using dip switches, a digital display, or through software configuration.
-
Assign a starting address to each tube, ensuring that addresses do not overlap. For example, if the first tube uses addresses 1-10, the second tube might use 11-20, and so on.
3. Programming the Controller
-
Create Lighting Scenes:
-
Using the DMX controller, program the desired lighting scenes. This involves selecting colors, brightness levels, and effects for each addressable section.
-
Many controllers have pre-built effects and the ability to create custom patterns.
-
Individual Pixel Control:
-
For detailed control, use software that allows individual pixel mapping. Software like Madrix, Lightjams, or Resolume can be used for advanced control.
-
Import the layout of your LED tubes into the software, then map the pixels to the corresponding DMX addresses.
-
Synchronize with Music:
-
If desired, synchronize the lighting effects with music or other audio inputs. This can be done using the sound-to-light features available in many DMX software solutions.
4. Testing and Adjustments
-
Test the Setup:
-
Run test sequences to ensure all tubes are responding correctly. Check for any unresponsive sections and troubleshoot as necessary.
-
Adjust the DMX addresses or connections if some tubes do not light up or respond incorrectly.
-
Fine-Tune Effects:
-
Refine the programmed scenes and effects based on the visual outcome. Adjust brightness, colors, and motion effects to achieve the desired look.
5. Operation During Events
-
Live Control:
-
During events, use the DMX controller to switch between programmed scenes or manually control the lights for live adjustments.
-
Ensure a trained operator is available to manage the lighting system and handle any issues that arise.
Tips for Effective Control
-
Documentation: Keep a record of DMX addresses and configurations for future reference and troubleshooting.
-
Regular Maintenance: Periodically check connections and clean the LED tubes to maintain optimal performance.
-
Backup Systems: Have a backup DMX controller or additional power supplies on hand to quickly address any technical failures.
By following these steps, you can effectively control individually addressable LED tubes and create stunning lighting effects for various events and installations.


