Release time:Mar 06,2024View:62284
DMX LED strips are a type of LED lighting that can be controlled using the Digital Multiplex (DMX) protocol, which is a standard for digital communication networks that are commonly used to control stage lighting and effects. These LED strips are designed to integrate with DMX controllers to allow for sophisticated control over color, brightness, and patterns, making them popular for stage designs, concerts, clubs, and architectural lighting.
Here's a general overview of how DMX LED strips work and how they are set up:
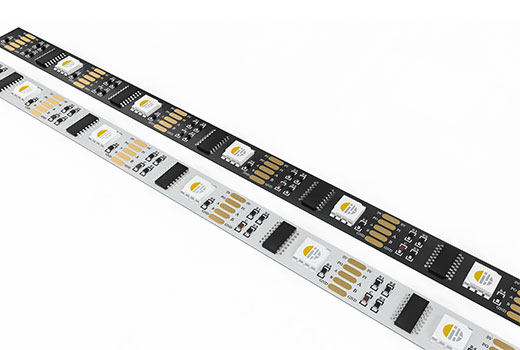
DMX LED Strip: The actual strip of LEDs that can interpret DMX signals to change colors and patterns. They often come in different versions, allowing for RGB (Red, Green, Blue), RGBW (Red, Green, Blue, White), or even more advanced color mixing capabilities.
DMX Controller: A device that sends DMX signals to the LED strip. It can be a standalone hardware controller, a computer running special software, or even a smartphone app connected to a DMX interface.
DMX Decoder/Driver: This device translates the DMX signal into a format that the LED strip can understand, often converting the signal into PWM (Pulse Width Modulation) to control the LED colors and intensity.
Power Supply: LED strips require a power source, and it's crucial to use a power supply that matches the voltage and current requirements of your specific LED strip.
Power the System: Connect your power supply to the DMX decoder/driver and to the LED strip as per the manufacturer's instructions.
Connect the DMX Controller to the Decoder: Use DMX cables (typically XLR or sometimes RJ-45 connectors) to connect the DMX output of the controller to the DMX input on the decoder.
Address the Decoder: Set the DMX address on the decoder to match the channel you want to control on the DMX controller. DMX addresses typically range from 1 to 512, which correspond to individual control channels on a DMX universe.
Configure the Controller: Depending on the complexity of your controller, you might need to program or configure it to control the LED strips in the desired manner.
Test the System: Once everything is connected and powered, you should test the system to ensure that the LED strips respond correctly to the commands from the DMX controller.
Lighting Effects: Use the DMX controller to create dynamic lighting effects, such as color fades, flashes, or chases.
Synchronization: DMX systems can be synchronized with music or other environmental inputs for coordinated light shows.
Multiple Zones: By setting different DMX addresses, you can control multiple LED strips or zones independently within the same setup.
Cable Quality: Use good-quality DMX cables to avoid interference and signal degradation, which can lead to erratic behavior of the lighting.
Distance: Keep in mind that the maximum cable run length for DMX is typically around 1,000 ft (300 meters). For longer distances, you may need to use DMX repeaters or opto-isolators.
Compatibility: Ensure that all components (LED strips, controller, decoder) are compatible, particularly in terms of voltage and current specifications.
Safety: Always follow electrical safety guidelines to prevent overloading circuits, electrical fires, or damage to your equipment.
DMX LED strips offer a high degree of control and are highly customizable, making them a favored choice for professional lighting designers and enthusiasts alike.
Shenzhen, China 518103