Release time:Dec 09,2022View:8432
DMX Addressable Festoon
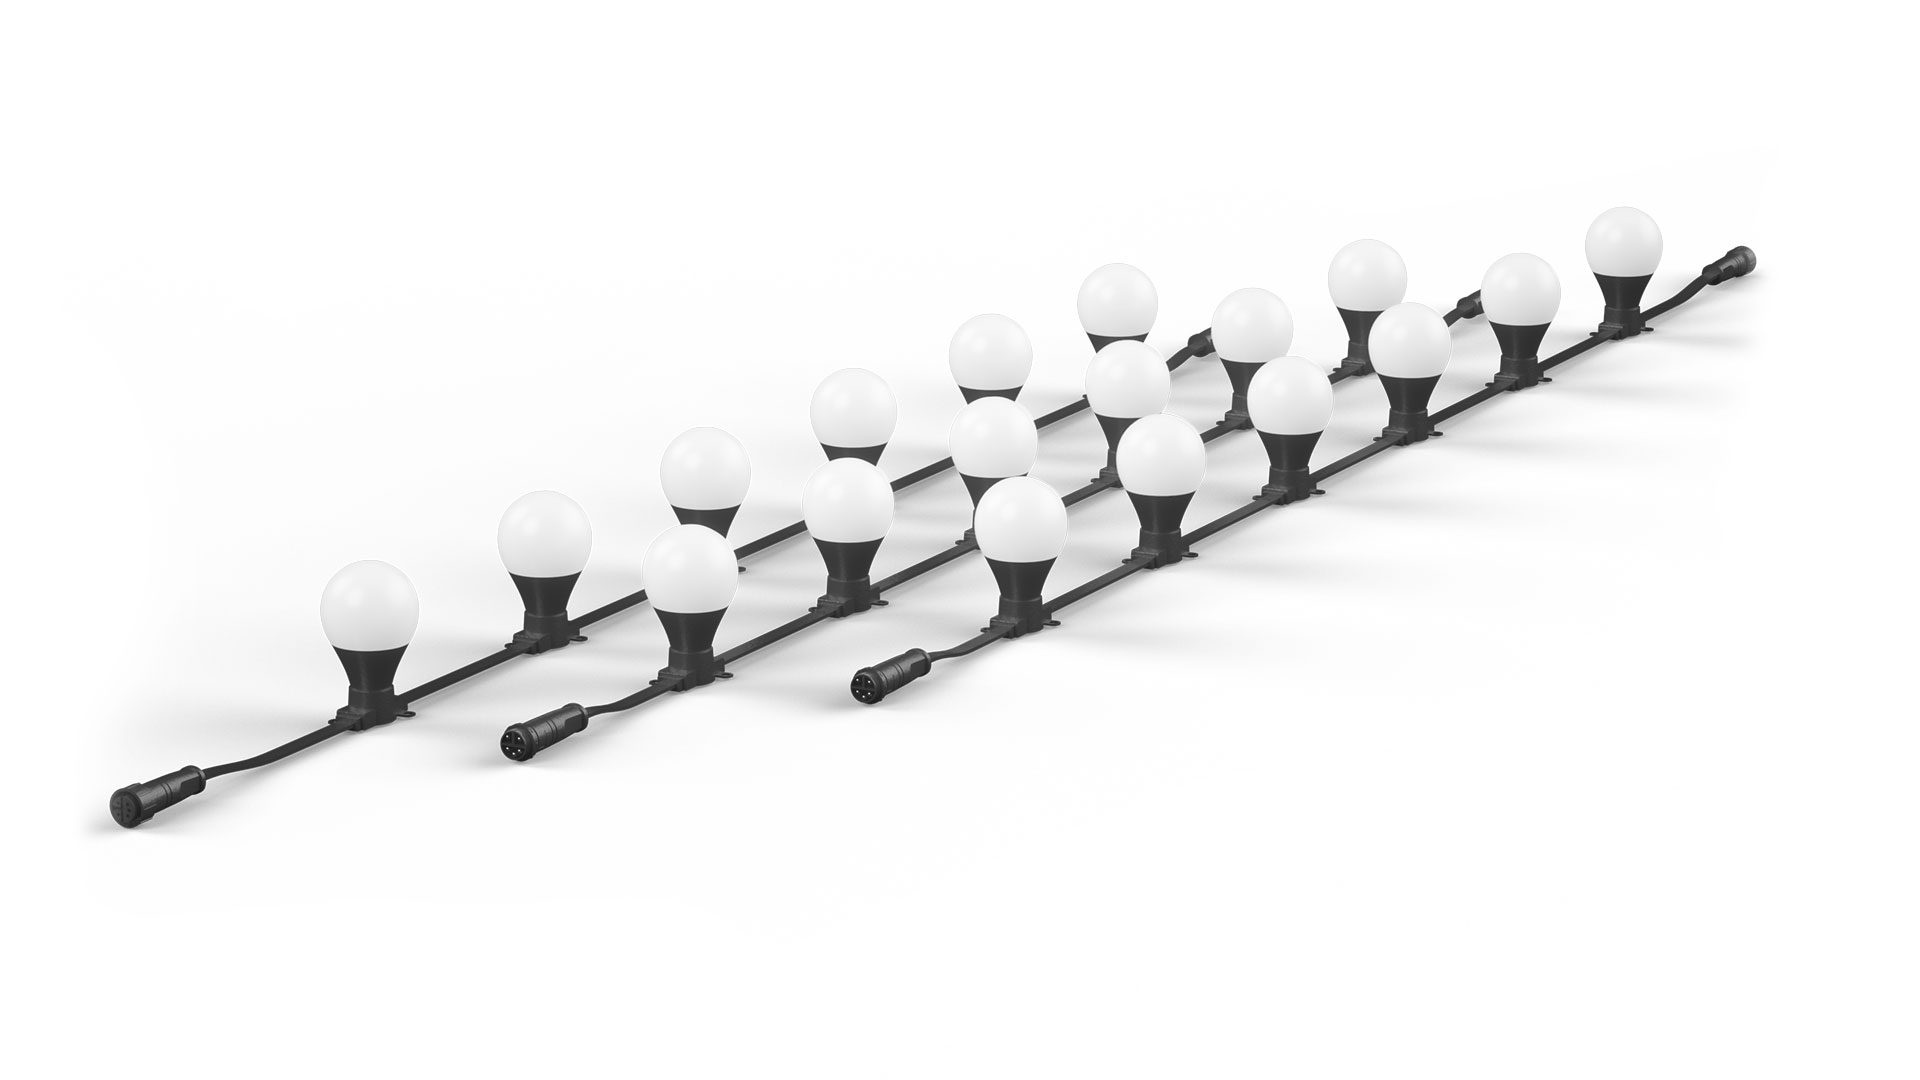
The Addressable Festoon is done with vintage look of traditional festoon lighting and also add total DMX control to each RGB/RGBW bulb. Dazzling colors can be produced by mixing such RGB/RGBW LEDs, any color can be programmed via DMX to create flicker free lighting effects like chasing, waving, fading, dimming, strobing and a lot more. It is very popular for stage shows and light installations, the incredibly premium quality DMX Addressable Festoon provides exceptional flexibility for all kinds of installations.

The Setup of Addressable Festoon
DMX Controller/Console>24V PSU>LED Innovator Cabling/Splitter>DMX Addressable Festoon
1. DMX Controller/Console
Any standard DMX controller or console will be compatible with our festoon. Every bulb is DMX direct in, PC-based DMX lighting control system like our ArtNet Node and standalone version will both do good.
2. DC24V output PSU
If you want us to supply power supplies together, we highly advise you to have Meanwell ones, LRS-350-24 350W 14.6A 24V output for indoor installations and HLG-320H-24A 320W 13.33A 24V output for outdoor projects.
3. Cabling/Spitter
Regular cable accessories to meet different projects’ demand, you can create various designs, multiple festoon lighting strings can be run in parallel from only one PSU sometimes it will need some power injections.
4. DMX Addressable Festoon
Every individual festoon lighting string will have enough aging test before delivery, each of them can be addressed to its own addresses before packing.
How to address our DMX festoon lighting?
Note: Each RGB bulb require R/G/B 3 DMX channels, while each RGBW bulb require R/G/B/W 4 DMX channels
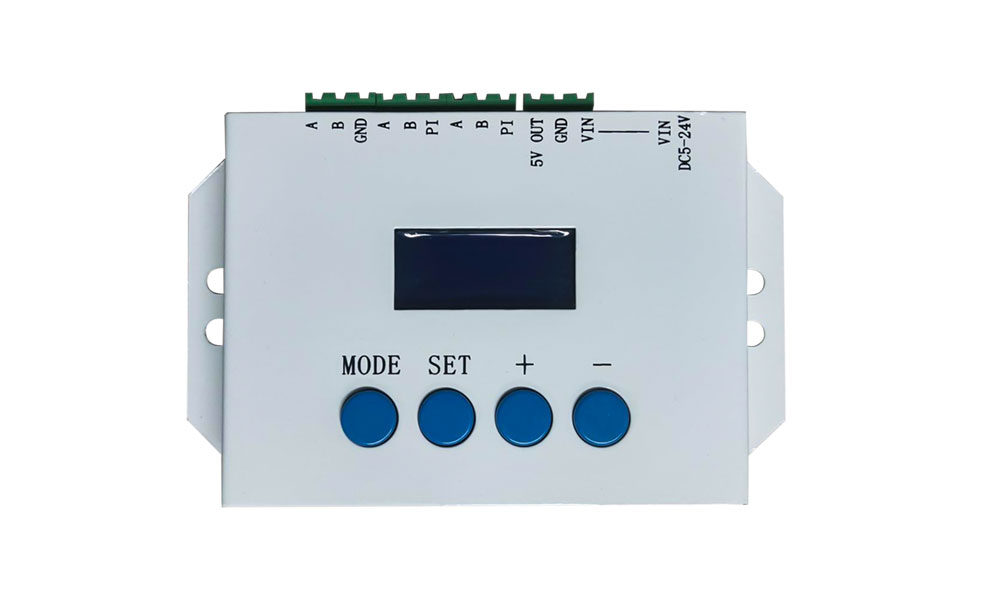
LED Innovator supply handheld programmer for addressing setting and testing, how to use it?

1. Hold down button “MODE” for seconds to choose mode, press button “+” “-” to change number or mode. Press “set” to choose IC
Start CH: 00000
CH Mode: 00003 (RGB 3 channels, if it is RGBW bulb it will be 004)
IC Num: 00512
DO Num: 00000
IC: TM512AC
After the selection, hold down the button “set” for seconds, it shows “Writing addr….”, seconds later if all pixels turn blue, address setting done, the first pixel will go red (remaining pixels turn white).
2. By the way, if you want to set address to one certain dot string alone, you will have to change the “Start CH”.
For example, 1 DMX universe, every string with 30 RGB pixels, 5 strings in total
“Start CH” for each string will be as follow:
1st string: 0000, 2nd string: 0090, 3rd string: 0180, 4th string: 0270, 5th string 0360
Actually, you can set the DMX addresses in one go, connect all 5 strings (of course power input is a must), just set the addresses one time, starting channel choose 0000.
Shenzhen, China 518103

